Wouldn’t that be wonderful? Things could last forever, and not need to be repaired or replaced. It would be even more nice if you didn’t have to think about things like your outdoor faucet all the time. The laws of thermodynamics are applicable to everything, even outdoor faucets. The bottom line is that your faucet won’t last forever and will eventually need replacing.
Good news: It is not difficult to replace outdoor faucets. You can actually do it yourself, provided you have the necessary tools and the right replacement.
This guide will help you to replace your outdoor faucet. Below are some tips to help identify if your faucet is ready for replacement. We will then show you how to replace the faucet yourself.
- How to determine if your outdoor faucet requires replacement
- How to replace an outdoor faucet
- Common Causes of Outdoor Faucet Damage
- How to prolong the life of your outdoor faucet
How to determine if your outdoor faucet requires replacement
Each spigot breaks in a different way. However, there are some signs that your spigot is in need of replacement. Here are a few:
- Inconsistent water Pressure: This could be an indication that something is wrong with your faucet. If water pressure is normal on all other areas of your property but the spigot has trouble, it could be time to get a new one.
- Environmental damage: Rust or other buildup may cause more problems than an ugly sight. The buildup of corrosion on the outside can cause water to be unsafe or can even lead to the destruction of the faucet.
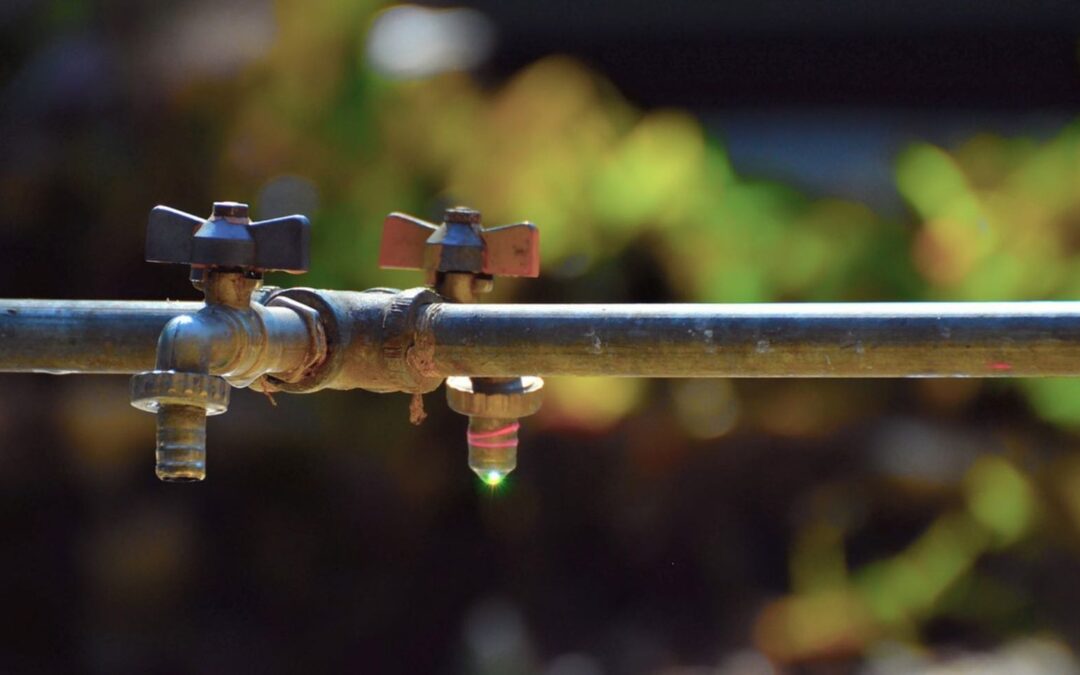
- Dripping. While dripping might seem minor at first, it can increase your water bills and cause other more serious problems. Most importantly, damp ground can become a breeding area for bacteria, fungus and other pests that can cause harm to your home.
How to replace an outdoor faucet
You can replace your faucet if it shows any of these symptoms and does not seem to be able to be repaired.
- Get a new faucet.
- Turn off the water supply to your house in order to avoid any issues when installing the new Spigot.
- You can drain the water by unbolting the valve. You can also use a second wrench to hold the pipe in its place.
- To remove an existing faucet from concrete, drill holes. Do not drill into existing faucets.
- The faucet should be removed from the wall. To free the faucet, turn it counterclockwise using a large wrench.
- Install the faucet in the place of the old faucet. Turn it tightly to stop leaks.
- Make sure to turn off the water supply in order to check for leaks.
- Fill in any gaps with concrete, and let it dry.
Common Causes of Outdoor Faucet Damage
Due to their location, outdoor faucets are susceptible to all kinds of environmental damage. Damage can be caused by rusting, severe cold, clogs and even accidental strikes. The most common culprit is normal wear and tear.
How to prolong the life of your outdoor faucet
You should maintain your outdoor faucet like any other household item. It can be maintained by checking it every two months, cleaning out any excess buildup and inspecting for cracks or clogs.
If your home is subject to extreme cold, you should cover the faucet in winter. These tips will allow you to keep your faucet running longer and decrease the likelihood that it will need to be replaced.