Your daily shower routine deserves the best, and installing a Moen shower valve can significantly enhance your experience. Whether you’re upgrading your existing shower or working on a new construction project, this blog will walk you through the steps of installing a Moen shower valve like a pro.
- Collect Your Tools: Before you dive in, gather essential tools such as a pipe cutter, wrenches, a measuring tape, soldering materials, and, of course, your chosen Moen shower valve kit.
- Turning Off the Water: Safety first. Shut off the water supply to your bathroom to avoid any unexpected waterworks during the installation.
- Old Valve Removal: If you’re replacing an existing valve, you’ll need to remove it carefully. This may involve cutting pipes and soldering, so if you’re not experienced, consider hiring a professional.
- Positioning the New Valve: Carefully choose the location for your Moen shower valve. Make sure it’s accessible and at a comfortable height for everyone in your household.
- Mounting the Valve: Securely mount the valve using the provided brackets. This step is crucial for ensuring stability and preventing future issues.
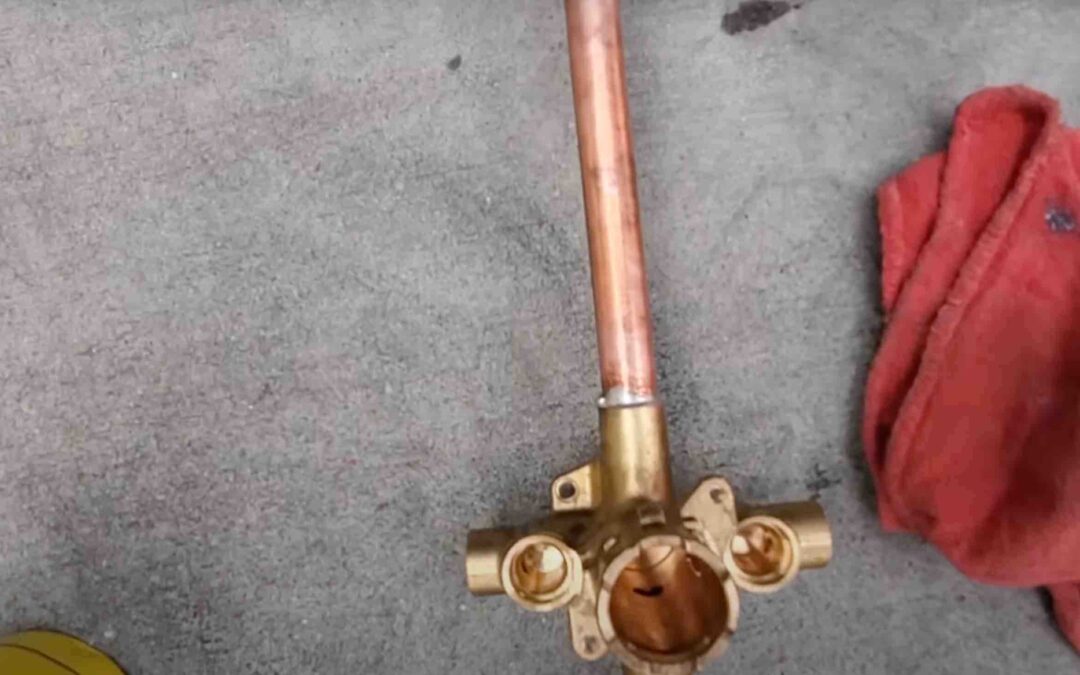
- Connecting the Pipes: Follow the manufacturer’s instructions for connecting the pipes to the valve. Properly solder or attach threaded connections to prevent leaks.
- Testing for Leaks: Once everything is in place, turn the water supply back on and test the valve for leaks. Take your time to ensure every connection is secure.
Conclusion
A Moen shower valve installation can turn your daily shower into a spa-like experience. With the right tools, careful preparation, and attention to detail, you can confidently install your Moen shower valve and enjoy the convenience and luxury it brings to your bathroom. Remember, if you’re unsure about any step, it’s always a wise choice to consult a professional to ensure a flawless installation.