A leaking Rheem water heater drain can be a frustrating and potentially costly issue for homeowners. Timely action is crucial to prevent further damage and ensure the efficient functioning of your water heater.
In this blog, we will provide a comprehensive guide on replacing a leaking Rheem water heater drain. From identifying the problem to the step-by-step replacement process, we will cover all the necessary information to help you tackle this issue effectively and restore the integrity of your water heater system.
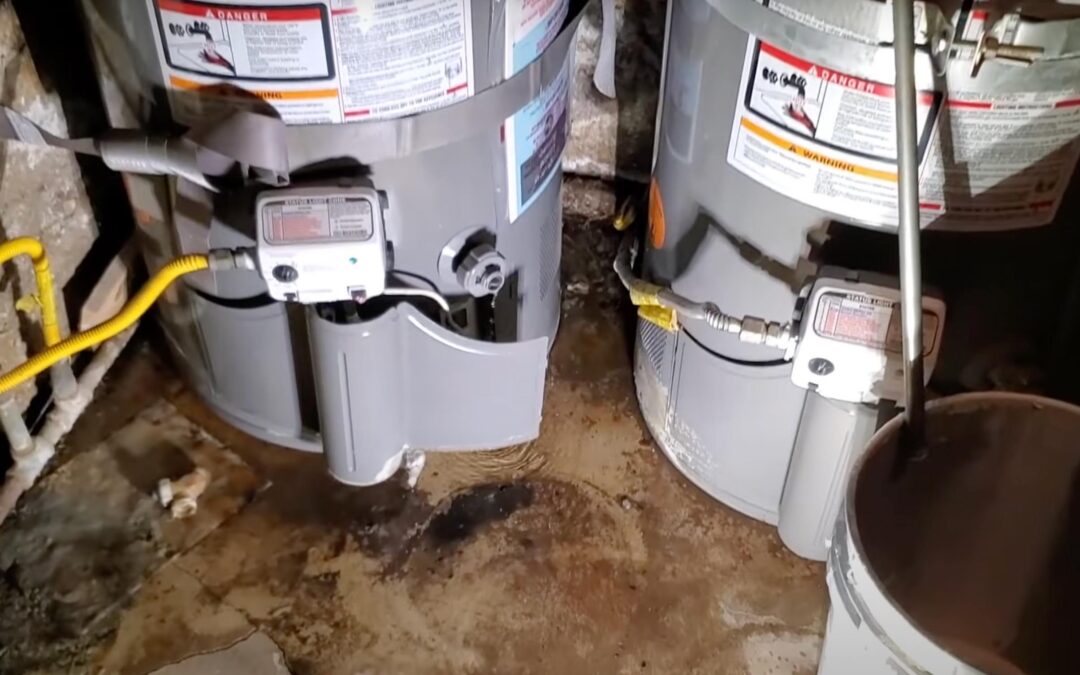
- Identifying the Source of the Leak: The first step in addressing a leaking Rheem water heater drain is to identify the source of the leak accurately. The drain valve, located at the bottom of the water heater tank, is a common culprit. However, it’s essential to rule out any other potential causes such as loose connections or damaged pipes. Thoroughly inspect the drain valve and surrounding areas to determine the exact location of the leak.
- Gathering the Necessary Tools and Materials: Before proceeding with the replacement, gather the required tools and materials. This typically includes an adjustable wrench, pipe wrench, plumber’s tape, a replacement drain valve, and a bucket or towels to catch any water that may spill during the process. Having everything prepared in advance will ensure a smoother and more efficient replacement procedure.
- Shutting Off the Water Supply and Draining the Tank: To safely replace the leaking drain valve, it is crucial to turn off the water supply and drain the tank. Locate the water shut-off valve connected to the water heater and turn it off. Next, attach a hose to the drain valve and direct it to a suitable drainage area. Open the valve to drain the water from the tank completely. This step is essential to prevent any water from gushing out during the replacement process.
- Removing the Old Drain Valve: Once the tank is drained, use an adjustable or pipe wrench to carefully loosen and remove the old drain valve. Apply counter-clockwise force to unscrew the valve from the tank. If the valve is resistant, use penetrating oil to loosen it or seek professional assistance to avoid causing further damage. Take note of any sealing tape or compound used on the threads, as this will need to be replaced during installation.
- Installing the New Drain Valve: With the old drain valve removed, it’s time to install the new one. Wrap the threads of the new drain valve with plumber’s tape or apply a suitable sealing compound to ensure a watertight connection. Carefully thread the new valve into the opening on the water heater tank, ensuring it is tightened securely. Take caution not to overtighten, as this can cause damage to the tank or the valve itself.
- Testing for Leaks and Restoring the Water Supply: Once the new drain valve is installed, it’s crucial to test for any potential leaks before restoring the water supply. Slowly turn on the water shut-off valve to allow water to flow back into the tank. Monitor the new drain valve closely for any signs of leakage. If no leaks are detected, you can proceed to fully restore the water supply and check for any additional leaks throughout the system.
Conclusion:
A leaking Rheem water heater drain can be a concerning issue for homeowners, but with the right knowledge and steps, it can be resolved effectively. By identifying the source of the leak, gathering the necessary tools, shutting off the water supply, and following the step-by-step process of removing and replacing the drain valve, you can successfully tackle this problem. Remember to test for leaks before fully restoring the water supply. If you are unsure or uncomfortable with the replacement process, it’s always recommended to seek professional assistance to ensure the proper functioning and safety of your water heater system.