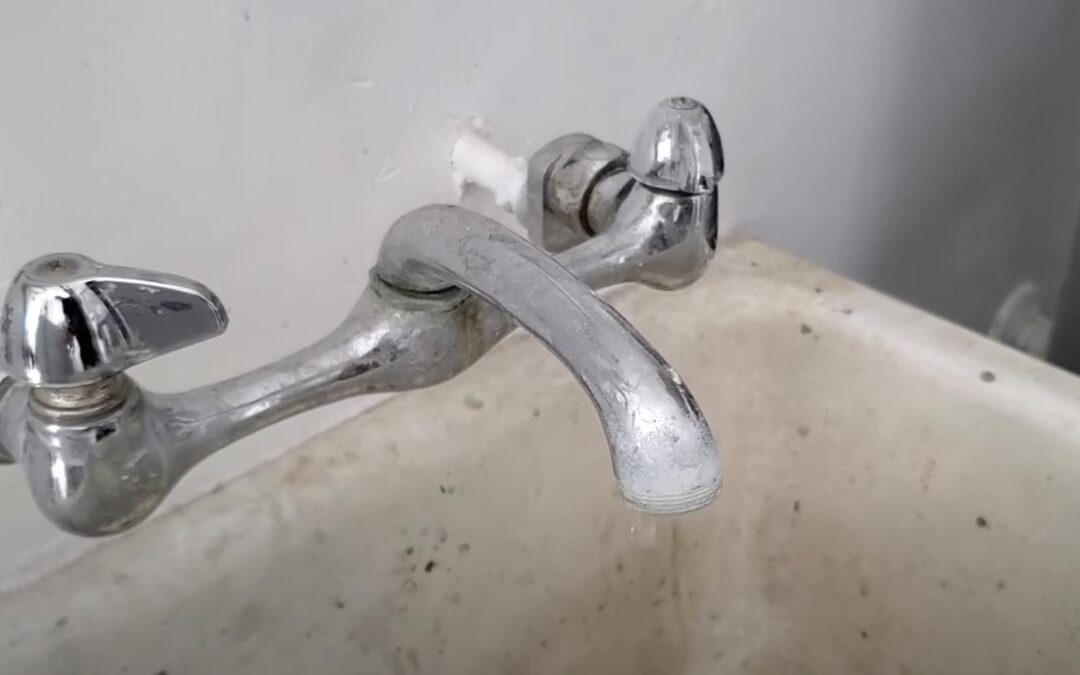
Replacing a wall hung sink faucet is a simple yet transformative project that can instantly upgrade the look and functionality of your bathroom. Whether you’re seeking a modern design update or addressing a faulty or outdated faucet, this blog will provide you with a step-by-step guide to successfully replace your wall hung sink faucet. From preparation to installation, we’ll cover all the necessary information to help you achieve a seamless and satisfying faucet replacement.
- Preparing for the Replacement: Before starting the replacement process, it’s important to gather the necessary tools and materials. These may include an adjustable wrench, basin wrench, plumber’s tape, a new wall hung sink faucet, and a bucket or towels to catch any water that may leak during the removal process. Ensuring you have everything on hand will save time and allow for a smoother replacement procedure.
- Shutting Off the Water Supply: To avoid any water leakage, it’s crucial to shut off the water supply to the sink. Locate the shut-off valves beneath the sink and turn them clockwise to close them fully. After shutting off the valves, turn on the faucet to release any remaining water in the lines. This step will prevent any potential water damage and ensure a clean and hassle-free replacement process.
- Removing the Old Faucet: Using the appropriate tools, carefully remove the old wall hung sink faucet. Begin by disconnecting the water supply lines attached to the faucet. A basin wrench can be helpful in reaching the connections in tight spaces. Next, loosen and remove the mounting nuts securing the faucet to the sink. If there is caulking around the base of the faucet, gently cut through it with a utility knife before lifting the faucet away from the sink.
- Preparing the New Faucet: Before installing the new faucet, it’s important to prepare it for the replacement. Apply plumber’s tape to the threaded connections of the new faucet to create a secure and watertight seal. Additionally, review the manufacturer’s instructions to ensure proper installation and any specific requirements for your particular faucet model.
- Installing the New Faucet: With the old faucet removed and the new faucet prepared, it’s time to install the replacement. Position the new faucet over the mounting holes in the sink and align it correctly. Secure the faucet in place by tightening the mounting nuts beneath the sink. Be cautious not to overtighten, as this can damage the faucet or the sink. Once the faucet is secure, reattach the water supply lines, ensuring they are properly connected and tightened.
- Testing and Finishing Touches: Once the new faucet is installed, it’s crucial to test for any potential leaks before considering the job complete. Slowly turn on the water supply valves and check for any drips or leaks around the connections. If any leaks are detected, ensure that the connections are properly tightened or consult a professional plumber for assistance. Once satisfied that there are no leaks, clean the area around the faucet and enjoy your refreshed wall hung sink with its new faucet.
Conclusion
Replacing a wall hung sink faucet is a relatively straightforward project that can significantly enhance the appearance and functionality of your bathroom. By following the steps outlined in this guide, you can successfully remove the old faucet and install a new one, elevating the style and efficiency of your sink.
Remember to prepare adequately, shut off the water supply, and test for leaks before considering the job complete. With the right tools, a bit of patience, and attention to detail, you’ll be able to achieve a satisfying faucet replacement and enjoy the benefits of your upgraded wall hung sink faucet for years to come.

