A leaking toilet not only wastes water but can also lead to increased water bills and potential damage. This blog offers a comprehensive guide to fixing a leaking toilet, helping you eliminate that persistent drip and save resources.
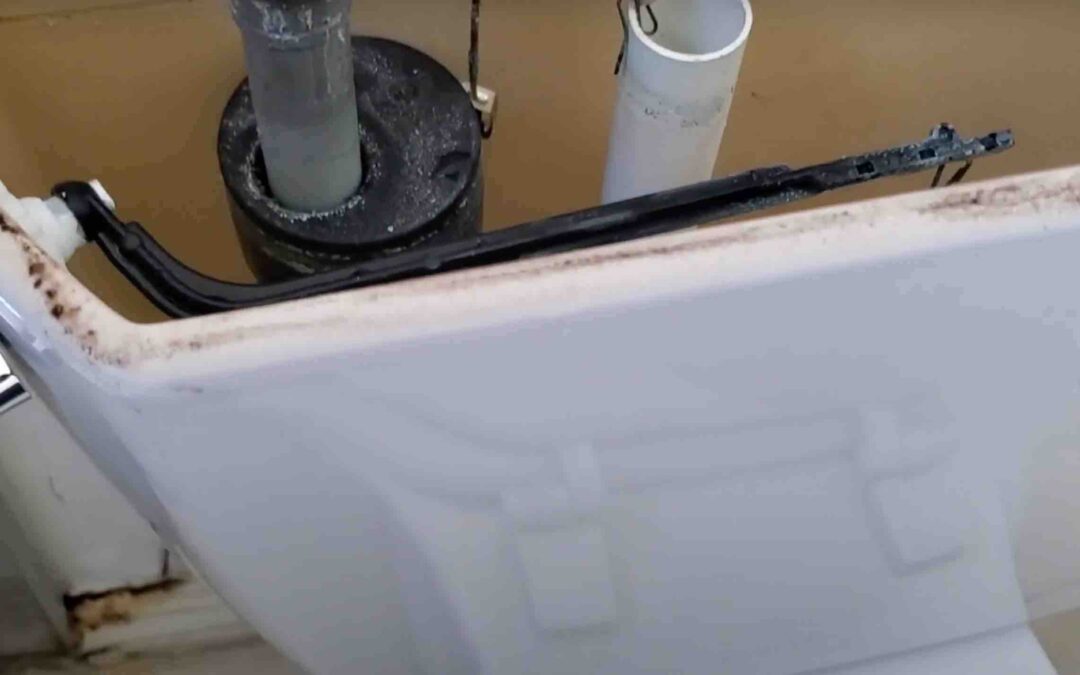
Diagnosing the Source of the Leak
- Inspect the Tank and Bowl:
- Determine whether the leak originates from the tank or the bowl. Place food coloring in the tank water and observe if the color appears in the bowl, indicating a leak between them.
- Check the Flapper Valve:
- The flapper valve might be worn or misaligned, causing water to leak into the bowl. Replace it if needed.
Replacing the Flapper Valve
- Turn Off Water Supply:
- Ensure the water supply to the toilet is shut off to prevent further water waste.
- Drain the Tank:
- Flush the toilet and hold down the flush handle to completely drain the tank.
- Remove Old Flapper Valve:
- Detach the old flapper valve, taking note of its positioning and attachments.
- Install the New Flapper Valve:
- Attach the new flapper valve, ensuring it fits securely. Adjust the chain length to prevent tangling.
- Turn On Water Supply:
- Open the water supply valve and allow the tank to refill. Test the flush to ensure the flapper valve is sealing properly.
Conclusion
A leaking toilet can lead to both water wastage and potential damage. By identifying the source of the leak and replacing the faulty parts, such as the flapper valve, you can put an end to the drip and conserve water resources. Regular checks and maintenance of your toilet can prevent leaks and keep your plumbing system in good condition.