The world of home improvement is vast, and sometimes, the most profound changes come from adjustments to the smallest fixtures. One such adjustment is raising the height of a hose bib. If you’re considering this modification, here’s a step-by-step guide to ensure the process is smooth and safe.
1. Preparation and Planning: Before you start, visualize where you want your new hose bib to be. Remember to consider factors like accessibility and its integration with your home’s design.
2. Turn Off the Water Supply: Safety first! Ensure that the main water supply is turned off. This prevents any unforeseen spills or leaks during the adjustment process.
3. Gather Necessary Tools and Materials: You’ll need pipe cutters, wrenches, Teflon tape, and an extension pipe. Ensure they are of the right size and compatible with your existing bib.
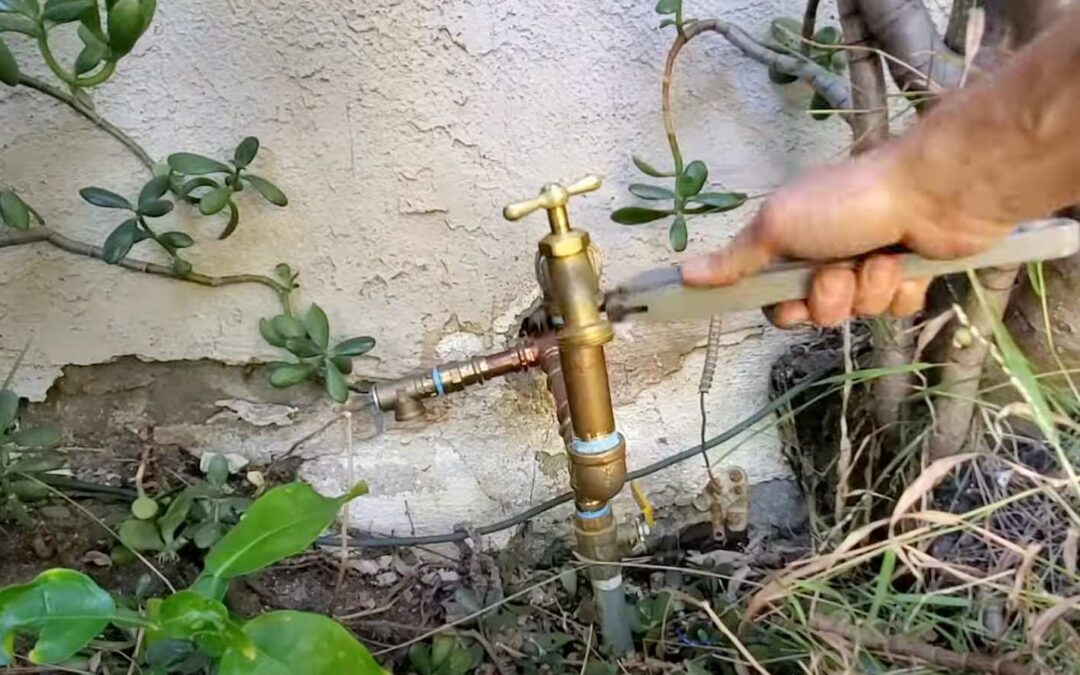
4. Detach the Old Hose Bib: Using a wrench, carefully remove the hose bib. Make sure to store it safely, especially if you plan on reusing it.
5. Install the Extension: Attach the extension pipe to the original spot. Ensure it’s tightly secured, and wrap the connecting threads with Teflon tape to prevent any leaks.
6. Reattach or Replace the Hose Bib: Once the extension is secure, you can either reattach the old hose bib or opt for a new one. Again, make sure this connection is leak-proof.
7. Test the Flow: Before turning on the main water supply, ensure all tools are clear from the area. Once turned on, check the hose bib’s flow and ensure there are no leaks.
8. Regular Maintenance Checks: With the new height, it might be easy to forget about maintenance. However, make sure to periodically check for any leaks or issues to ensure longevity.
Conclusion: Raising the height of a hose bib might sound complicated, but with the right tools and a systematic approach, it’s a task that can be accomplished efficiently. Not only does it add convenience, but it also enhances the overall functionality of your outdoor water source.