Upgrading your shower can breathe new life into your bathroom and enhance your daily bathing experience. When it comes to installing a reliable and high-quality shower valve, Moen is a trusted brand that delivers exceptional performance.
In this blog, we will provide a comprehensive step-by-step guide on how to install a Moen shower valve, ensuring a smooth and successful installation process. By following these instructions, you can achieve a professional-quality installation and enjoy the benefits of a reliable and efficient shower system.
- Gather the Necessary Tools and Materials: Before you begin the installation, it’s essential to gather all the necessary tools and materials. These typically include a Moen shower valve kit, adjustable wrench, pipe cutter or hacksaw, pipe deburring tool, soldering torch, flux, solder, PTFE tape, and a screwdriver. Ensure you have everything on hand to avoid interruptions during the installation process.
- Shut Off the Water Supply: Before starting any plumbing installation, it’s crucial to turn off the water supply to the shower. Locate the main water valve in your home and shut it off to prevent any water flow to the shower. Relieving the pressure by turning on the existing shower faucet is also recommended.
- Remove the Existing Shower Valve: To install a new Moen shower valve, you’ll need to remove the existing valve. This process involves disconnecting the water supply pipes, removing any mounting screws or brackets, and carefully pulling out the old valve from the wall. Take note of the existing connections and ensure you have enough space to accommodate the new valve.
- Prepare the Wall and Pipes: Before installing the new Moen shower valve, it’s essential to prepare the wall and pipes. Clean the area around the valve opening, removing any debris or old sealant. Additionally, inspect the pipes for any damage or corrosion. If necessary, cut and deburr the pipes to ensure a clean and smooth surface for the new connections.
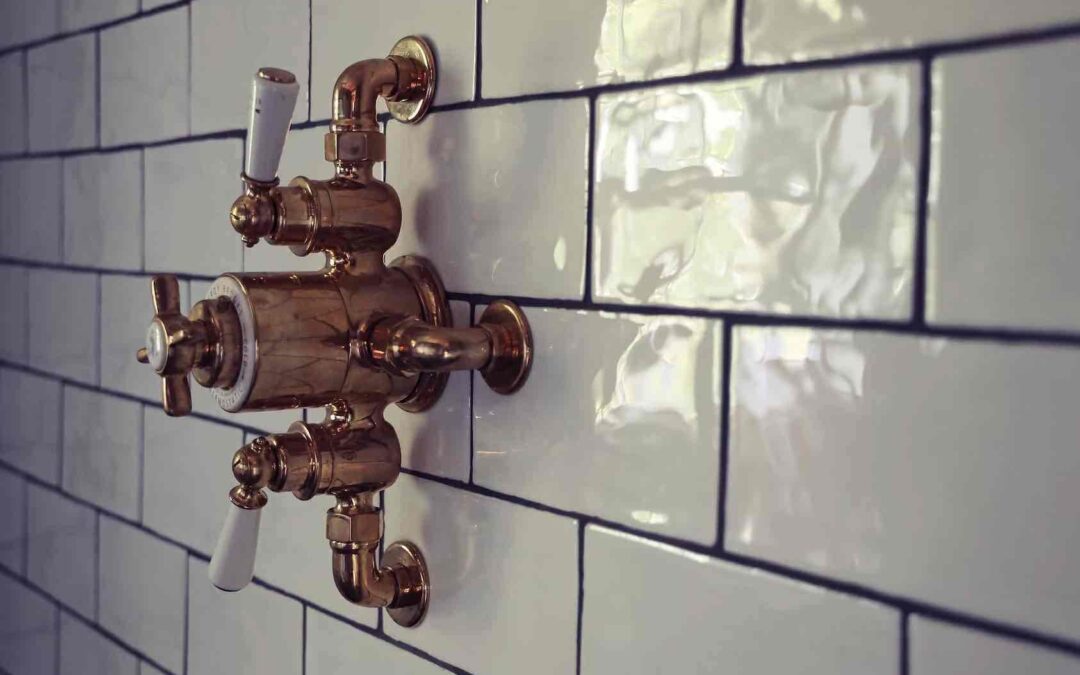
- Install the Moen Shower Valve: Follow the manufacturer’s instructions provided with the Moen shower valve kit to guide you through the installation process. Typically, this involves attaching the valve to the wall using mounting brackets, connecting the hot and cold water supply lines, and securing the connections with soldering or compression fittings. Be sure to apply PTFE tape to the threaded connections for a watertight seal.
- Test and Adjust the Valve: Once the Moen shower valve is installed, it’s crucial to test and adjust its functionality. Turn on the water supply and check for any leaks around the connections. Adjust the temperature and pressure settings to ensure a comfortable and consistent flow of water. Make any necessary adjustments using the valve’s built-in features or adjusting screws.
- Seal and Finish: After confirming the proper functioning of the Moen shower valve, it’s time to seal and finish the installation. Apply silicone or plumber’s putty around the valve trim plate to create a watertight seal and provide a polished appearance. Secure the trim plate to the wall using the provided screws or mounting brackets.
Conclusion
Installing a Moen shower valve is a rewarding DIY project that can transform your bathroom and enhance your shower experience. By following the step-by-step guide outlined above, you can confidently tackle the installation process and achieve professional-quality results. Remember to gather all the necessary tools and materials, shut off the water supply, remove the existing valve, prepare the wall and pipes, install the Moen shower valve, test and adjust its functionality, and seal and finish the installation. With a reliable and efficient Moen shower valve in place, you can enjoy a refreshing and enjoyable shower every day.